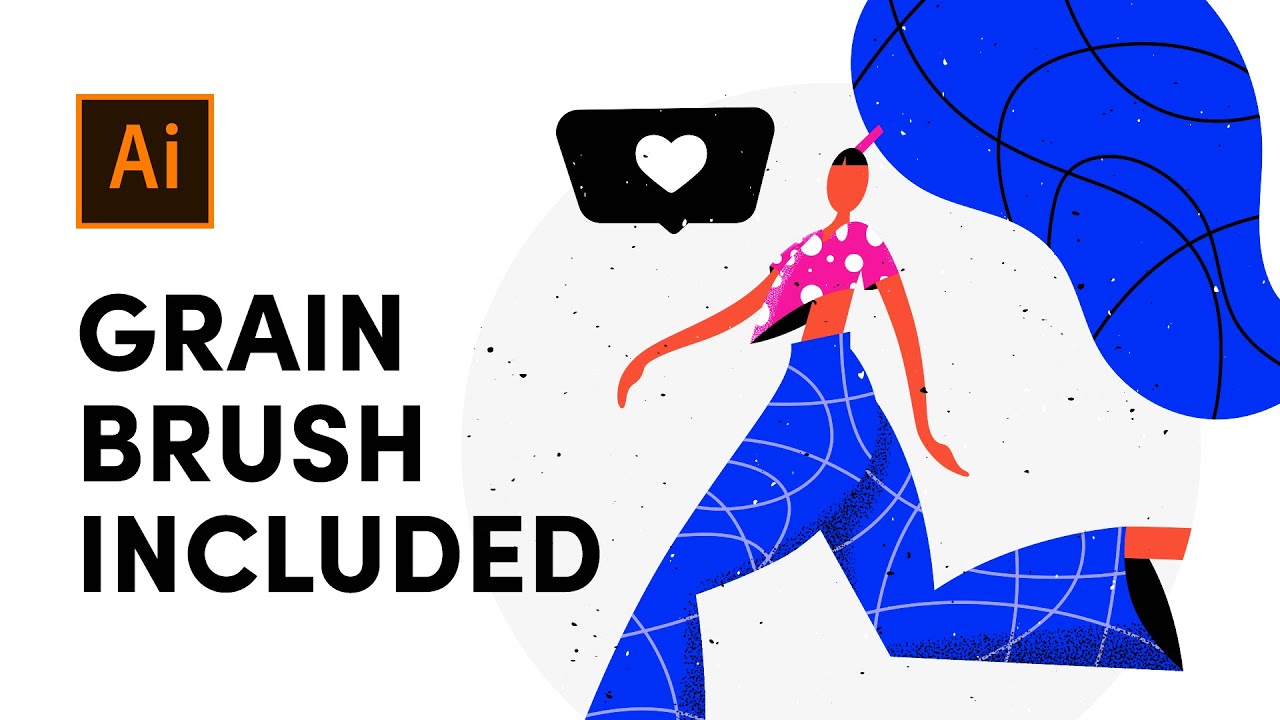
 You can easily create grain textured brushes in Illustrator and apply them on your flat design illustration, that’s why in this tutorial I’ll show you the steps necessary to get a better looking vector illustration.
 The first step is to create a sketch or feel free to use mine. I’m drawing a dynamic pose on my iPad Pro using Procreate.
If you want to follow along with this tutorial, you can download the exercise files which include the sketch, final vector designed illustration, grain brush and the textured overlay vector image here:
Special Offer ► If you want to take your illustrations to the next level, then get 60% OFF the regular price for my premium grain brush pack for Illustrator! This offer is only for the first 100 designers:
Once you’ve placed the sketch on your Illustrator canvas, make sure to lower its opacity and lock that layer up.
The next step is to trace the sketch using the Pen Tool (P) and apply your preferred color scheme - I found the one I’m using while browsing Dribbble.
In order to add grain texture to your flat illustration, you can create a brush from scratch or just use the one I’ve created while having the “Draw inside” mode enabled.
Once inside the group of elements, add some paths to create a unique vector pattern, then apply the newly created grain brush to bring your illustration to life.
Timestamps:
0:00 - 0:18 Drawing a sketch in Procreate using the iPad
0:20 - 1:30 Trace sketch in Illustrator using the Pen Tool
1:31 - 2:16 Add patterns to flat illustration
2:17 - 2:50 Create a grain texture brush in Illustrator
2:51 - 3:10 Add grain and noise texture on flat illustration
3:11 - 3:40 Overlay a textured vector image to an illustration
Hope you liked this Illustrator tutorial and if you did, don’t forget to let me know in the comment section and like this video so more people could see it.
Subscribe for more flat design illustration process tutorials!
About me // My name is Cosmin Serban, I've been a professional graphic designer for over 10 years and I'm currently working as the Director of Design Services for Instapage where my awesome team is in charge of designing landing pages for high-profile clients.
#grain #flat #illustrator #illustration #texture #tutorial #design #brush


0 Comments